Last updated on May 20th, 2025 at 12:31 pm
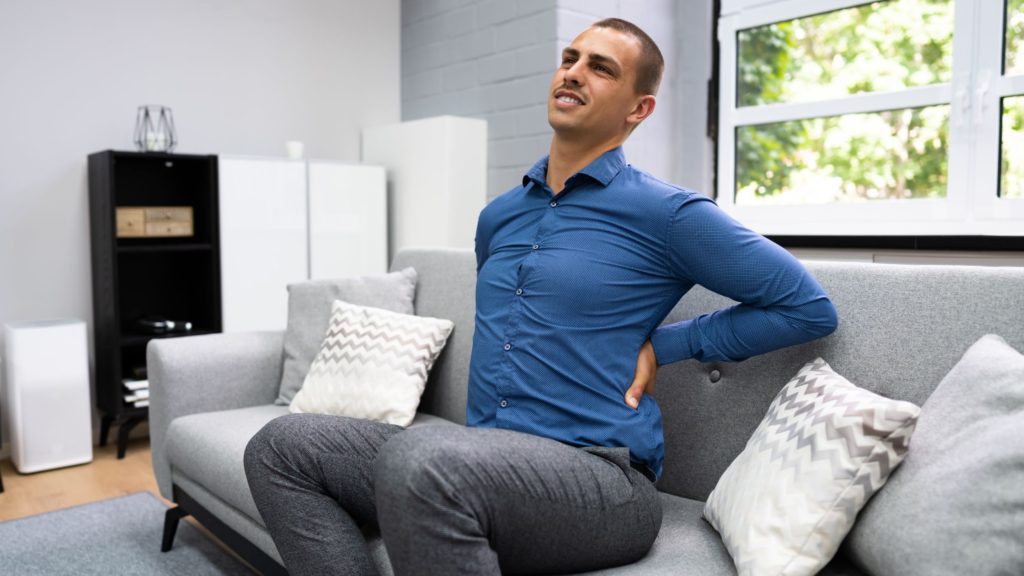
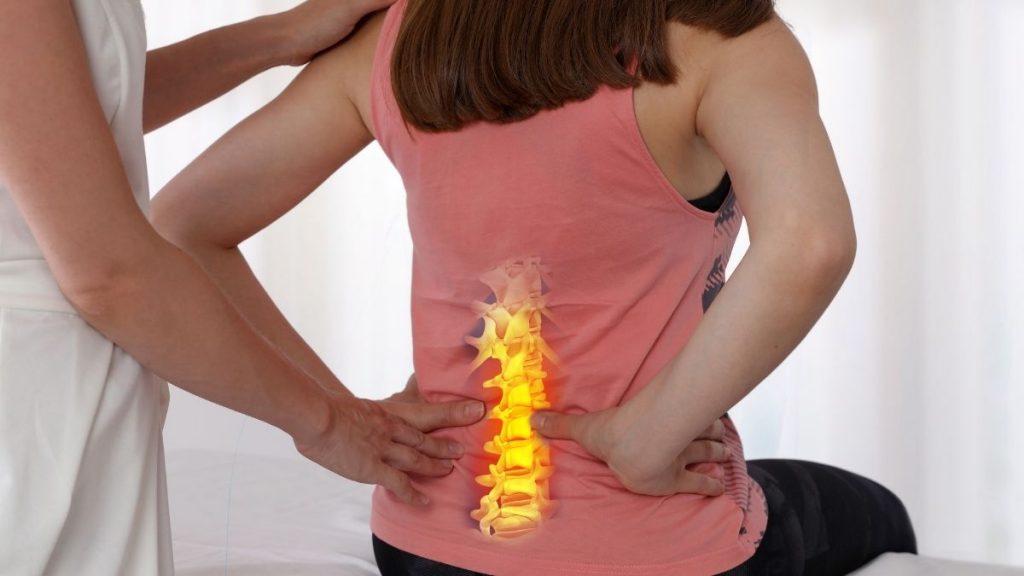
Among the several causes of low back pain is anterior pelvic tilt. Anterior pelvic tilt is a common postural issue with an imbalance in the muscles around the pelvis and lower back. This condition can lead to discomfort, pain in the lower back, and decreased core strength.
Fortunately, a few easy yet very effective exercises can help correct anterior pelvic tilt and strengthen your core muscles. This article will guide you through a step-by-step process to correct anterior pelvic tilt using essential exercises. These exercises alleviate your discomfort and improve your overall posture and stability.
Understanding Anterior Pelvic Tilt
The anterior pelvic tilt1 is the bad posture of the lower back in which there is the forward rotation of the pelvis, causing the lower back to arch excessively and the abdomen to protrude.
The pelvis bone is the bone that makes our waist. It is located at the base of the spine, connecting the spine to the lower limbs. In normal, good posture, the pelvis bone is balanced and maintains the natural curve in the lower back, known as lumbar lordosis. This alignment is important for efficient upper trunk weight distribution, optimal surrounding muscles, and joint functioning.
In anterior pelvic tilt, the pelvis abnormally rotates forward, causing the front of the pelvis to tilt downward and the back of the pelvis to rise. This rotation disrupts the pelvis’s normal alignment, leading to postural changes and muscle imbalances.
As a result, the person’s posture becomes abnormal, with the lower back arching excessively, increasing the normal lordotic curve. A protruding abdomen and an exaggerated forward tilt of the hips often accompany this curvature.
Easy exercises to fix anterior pelvic tilt
The key to correcting anterior pelvic tilt is strengthening the core muscles while stretching the tight hip flexors. This combination of exercises helps rebalance the muscles around the pelvis, allowing for proper alignment and improved posture.
Here are some essential exercises to include in your routine:
# 1. Dead bug exercises for anterior pelvic tilt
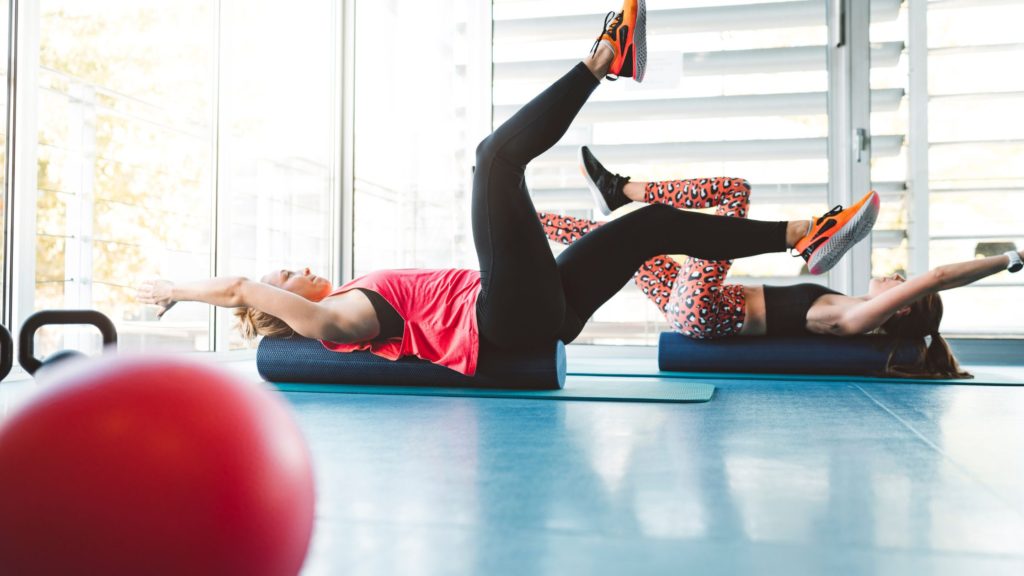
One of the most crucial aspects of exercises for anterior pelvic tilt is to strengthen the core muscles. The core muscles are located in the trunk of the body and are responsible for providing stability, support, and movement to the spine, pelvis, and torso.
And Dead Bug exercise is a highly effective way to strengthen these muscles.
- In this exercise, your starting position will be lying on your back with your arms extended straight up toward the ceiling. Keep your legs bent at a 90-degree angle, and your feet should be flat on the ground.
- Once you are in the starting position, engage your core muscles by drawing your belly button towards your spine. This action will help to stabilize your spine and keep it in a neutral position.
- From here, slowly lower your right arm overhead while extending your left leg towards the floor. Ensure you don’t let your lower back arch or lift off the ground while performing this movement. Keep your core engaged throughout the exercise.
- Now, return to the starting position and repeat the same motion on the opposite side.
- Slowly lower your left arm overhead while extending your right leg towards the floor. Remember to keep your core muscles engaged and avoid arching your lower back.
- Perform 10-12 repetitions on each side while maintaining proper form throughout the movement.
# 2. Glute bridge anterior pelvic tilt exercise
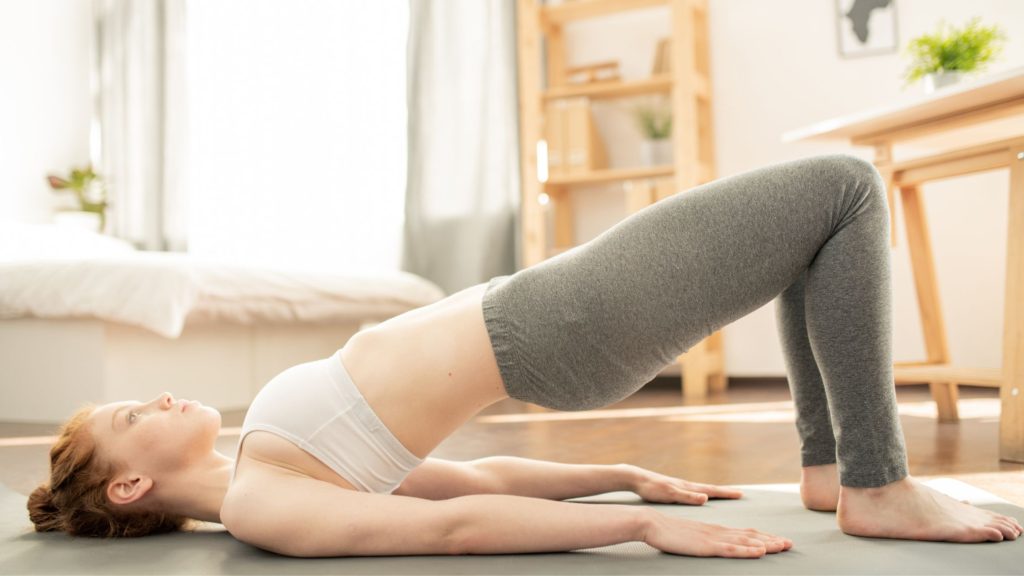
The Glute Bridge exercise is a highly effective exercise for strengthening your glutes. To perform this exercise:
- Start by lying on your back with your knees bent and feet flat on the ground, hip-width apart. Make sure your arms are at your sides, palms facing down.
- Next, engage your core muscles and squeeze your glutes as you lift your hips off the ground. As you lift, keep your feet firmly planted on the ground and your knees aligned with your hips.
- Lift your hips to a point where your body forms a straight line from your knees to your shoulders.
- Hold this top position for 5 seconds, making sure to maintain proper alignment and keep your glutes engaged throughout the movement. To count the 5 seconds, you can say “one thousand one, one thousand two, one thousand three…” and so on.
- After holding the top position for 5 seconds, slowly lower your hips back down to the starting position. Make sure to keep your glutes engaged and your core muscles activated as you lower your hips.
- We recommend performing a minimum of 12-15 repetitions of this exercise, with a focus on maintaining proper form and engaging your glutes throughout each repetition.
- As you progress, you can increase the number of repetitions or add weight to make the exercise more challenging.
# 3. Plank exercise to correct anterior pelvic tilt
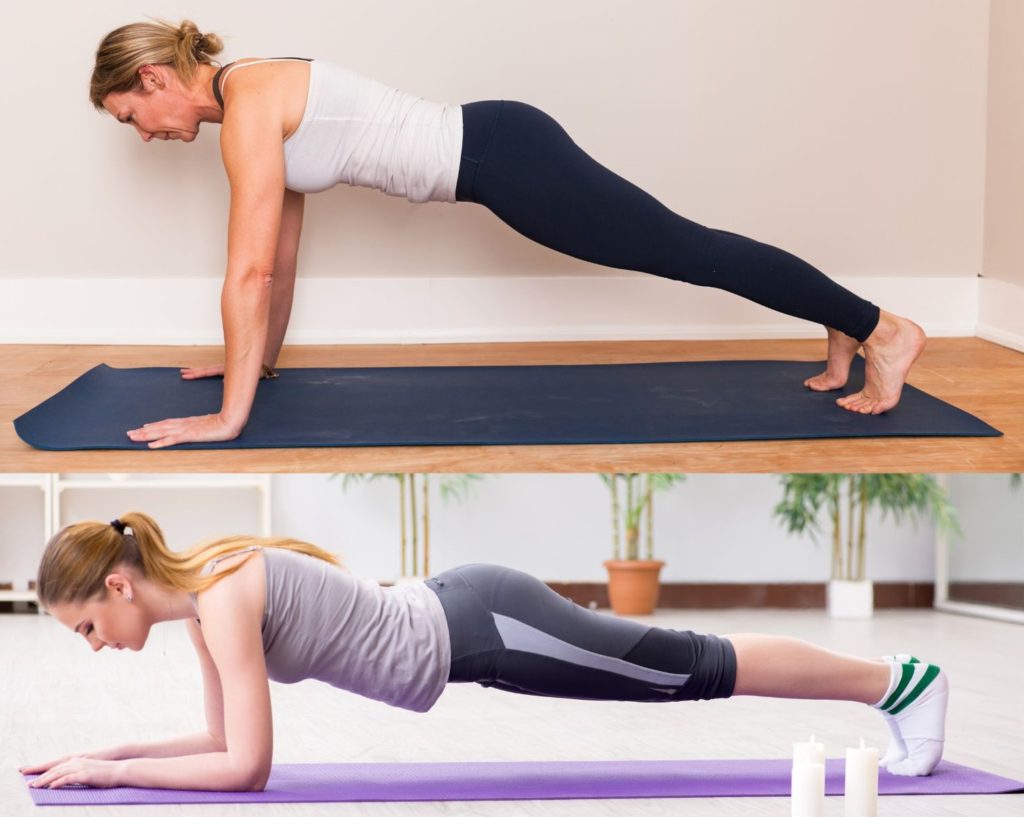
The Plank is an excellent exercise for strengthening your core muscles. It targets your entire core, including the abdominal muscles, obliques, and lower back muscles. To perform this exercise, follow the steps below:
- Begin by getting into a push-up position with your hands directly under your shoulders and your toes on the ground. Your arms should be straight, and your body should form a straight line from your head to your heels.
- Contract your abs and glutes to activate your core muscles. This will help stabilize your body and keep it in a straight line.
- Hold this position for 30 to 60 seconds, depending on your fitness level. Maintain proper form throughout the exercise.
- To modify the exercise and make it easier, you can perform the plank on your forearms instead of your hands. Simply lower yourself down to your forearms, with your elbows directly under your shoulders, and hold the position.
- As you become stronger, you can progress the exercise by adding time, performing it on an unstable surface like a BOSU ball, or by performing variations like side planks.
#4: Stretching Tight Hip Flexors
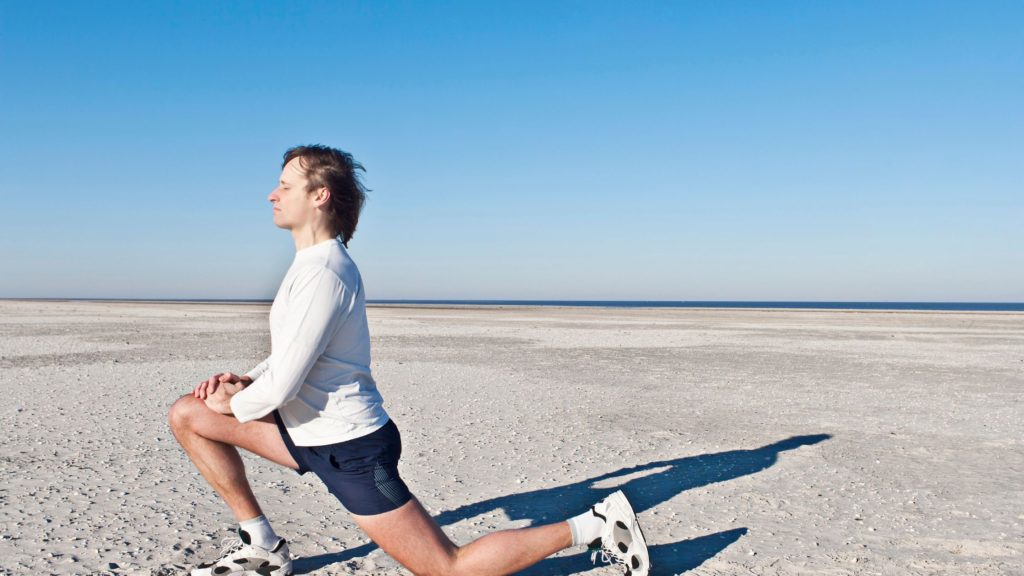
The kneeling hip flexor stretch is a simple yet effective exercise that can help alleviate tightness in the hip flexors. Here are the steps to perform this exercise:
- Begin by kneeling on a soft surface, such as a yoga mat or cushion. Place one knee on the ground and extend the other leg in front of you, with your foot flat on the ground and your knee bent at a 90-degree angle.
- Place your hands on your hips and engage your core muscles to stabilize your torso.
- Slowly shift your weight forward, keeping your back straight, until you feel a stretch in the front of your hip on the side of the kneeling leg.
- Hold this position for 30 seconds, breathing deeply and relaxing into the stretch.
- Repeat the stretch on the other side, switching the position of your legs so that the opposite knee is on the ground and the opposite leg is extended in front of you.
- Repeat the stretch on each side 2-3 times, gradually increasing the depth of the stretch as your muscles loosen up.
#5: Correcting Posture
In addition to these exercises, we also need to take care of our posture. We need to make a conscious effort to maintain proper posture throughout the day.
Be mindful of your body alignment, ensuring that your shoulders are relaxed and pulled back, your chest is lifted, and your pelvis is in a neutral position. Regularly reminding yourself to correct your posture will help reinforce the changes you make through exercises.
The Effects of Anterior Pelvic Tilt on the Body
Anterior pelvic tilt can significantly impact the body beyond lower back pain and poor posture. When the pelvis tilts forward, the entire musculoskeletal system is out of alignment. These changes in pelvic alignment can lead to various issues, including:
- Lower back bearing Increased stress: The increased lower back arch exerts excessive strain on the lumbar spine, potentially leading to lower back pain and discomfort.
- Weak abdominal muscles: Abdominal muscles are essential in maintaining the pelvis’s normal alignment. In anterior pelvic tilt, these abdominal muscles, including the deep core muscles, become weak. These weakened muscles cannot adequately support the pelvis and spine, contributing to the misalignment.
- Tightness of hip flexor muscles: The hip flexors are a group of muscles on the front of the hip joint responsible for flexing the hip joint. In a person with anterior pelvis tilt, this muscle becomes tight. Tight hip flexors further contribute to the forward rotation of the pelvis. Prolonged sitting and a lack of regular stretching are some causes of tight hip flexors.
- Weakened gluteal muscles: The gluteal muscles also crucially stabilize the pelvis. In individuals with anterior pelvic tilt, these muscles can become weak and inactive, further perpetuating pelvic misalignment.
This misalignment can increase stress on the lumbar spine, hip joints, and knees, potentially causing chronic pain and joint degeneration over time.
In addition to its physical effects, anterior pelvic tilt can also affect one’s appearance. The excessive arch in the lower back can make one’s stomach protrude, giving the illusion of a larger midsection.
This can be frustrating, especially if one is working hard to achieve a toned abdomen.
Assessing Your Posture and Identifying Anterior Pelvic Tilt
Before diving into the exercises, assessing your posture and determining if you have anterior pelvic tilt is essential. Here’s a simple test you can do at home:
- Stand with your back against a wall, heels about six inches away from the wall.
- Place your hand between your lower back and the wall. If there is a significant gap or your hand cannot touch the wall, you likely have anterior pelvic tilt.
- Take note of other postural imbalances, such as rounded shoulders or a forward head posture.
Conclusion
Correcting bad body posture, such as anterior pelvic tilt, requires a comprehensive approach. It includes stretching tight hip flexors, strengthening weak abdominal muscles, activating gluteal muscles, correcting posture, and engaging in full-body strength training.
To achieve this follow the above exercise regularly. We highly recommend performing these exercises twice daily. However, there is a condition in which the curve on the lower back reduces and becomes straight.
The medical term for this is loss of lumbar lordosis. We highly recommend this article to address the straightening of lumbar spine issue, “Fix Straightening of Lumbar Lordosis, Follow These 5 Top Exercises”.
The author is a physiotherapist who has been practising for the last 17 years. He holds a Bachelor's in Physiotherapy (BPT) from SVNIRTAR (Swami Vivekananda National Institute of Rehabilitation and Research), one of the prestigious physiotherapy schools in India.
Whatever he learns dealing with his patient, he shares it with the world through blogs and e-books. He also owns a YouTube channel, "Sunit Physiotherapist" with over 8 lakh active subscribers. Here, he shares everything he gets to learn serving the patient.
