Last updated on July 3rd, 2025 at 05:09 pm

The biggest concern of shoulder dislocation sufferers is to prevent recurrent or repeat dislocation without the need for surgery, with exercises, particularly in young, active individuals.
The table below shows that following an initial traumatic anterior shoulder dislocation, the incidence of recurrent instability ranges from 14 % to 100%2, influenced by age.
| SL | Age (Yr) | Chances of re-dislocation |
| 1 | <20 | 72 -100% |
| 2 | 20 - 30 | 70 - 82% |
| 3 | 50 | 14 - 22% |
But there is hope. In this article, I will discuss the most effective exercises for preventing future shoulder dislocation.
- Shoulder Dislocation Recovery Timeline: 3 Phases
- Phase 1: Early-Stage Shoulder Dislocation Exercises (0-2 Weeks)
- Phase 2: Intermediate Shoulder Stabilization Exercises (Weeks 2-6)
- Phase 3: Advanced Shoulder Strengthening (6+ Weeks)
- Conclusion: Staying Consistent for Recovery
Shoulder Dislocation Recovery Timeline: 3 Phases
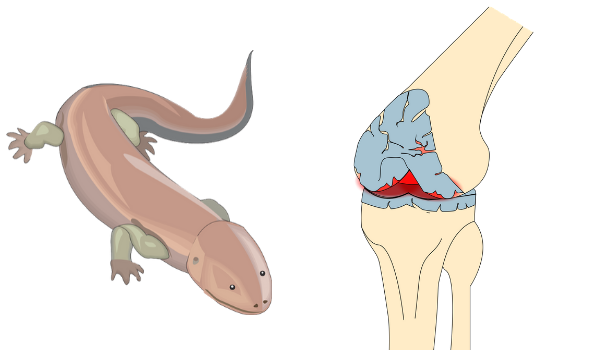
The shoulder joint is a ball-and-socket joint that enjoys the greatest freedom of movement. This can be attributed to its anatomy, the shoulder’s shallow socket.
The soft tissue and muscles around it help to increase the depth to some extent, but this freedom comes at a price: an increased risk of shoulder dislocation, which could be anterior or posterior.
However, over 95% of glenohumeral dislocations are anterior1. Between 14% and 65% of anterior shoulder dislocations are also associated with rotator cuff tears, which again increase in older patients1.
Whatever the type of dislocation, exercises aim to strengthen the muscles around for a better grip of the ball in its socket. Exercises typically should start immediately after the dislocation reduction when the sufferer is still under the forearm sling.
We have to progress with exercise in a phased manner; for this matter, exercises are subdivided into three phases.
You may start exercises serially from the beginning or jump to a specific phase according to your present situation.
- Phase 1: When a sufferer is still on a forearm sling, which can last for a week
- Phase 2: Immediately after the removal of the sling.
- Phase 3: When almost all pain subsides, this phase includes rigorous exercise.
So, let’s dive deep into each phase
Phase 1: Early-Stage Shoulder Dislocation Exercises (0-2 Weeks)
This phase starts immediately following a surgeon’s surgical stabilisation or simple reduction. A forearm cuff sling immobilises the shoulder joint for at least two weeks, so it lasts for two weeks.
During this rest period, there is an increased risk of atrophy and shoulder joint stiffness. To minimise this, exercises need to be started as soon as possible.
The exercises we are going to discuss are very simple. You may perform the exercises with a sling on, or you can remove it at your convenience.
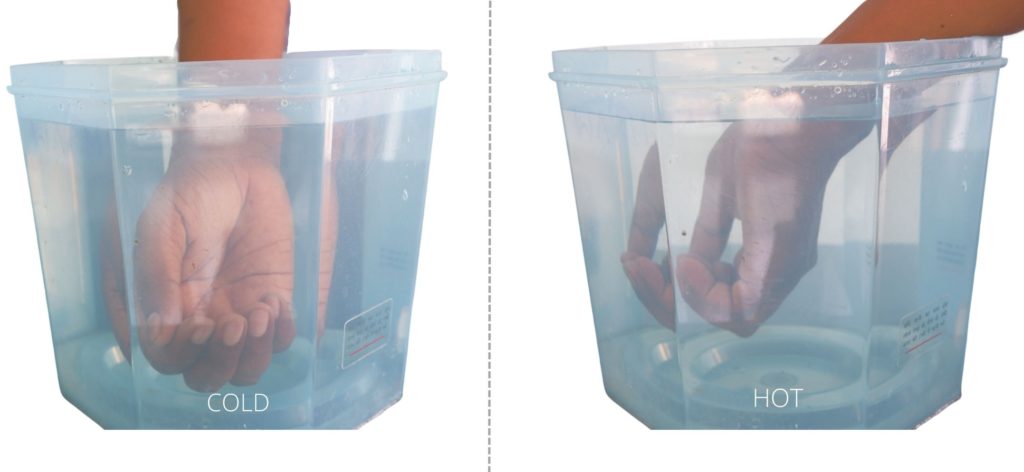
After the exercise session, there is a chance you may develop a slight bout of pain. We recommend icing using shoulder-specific ice pack for this immediately after the exercise finishes.

- 【Powerful Cold Therapy for Post-Surgery Recovery 】 Whether you’re recovering from rotator cuff surgery, a sports injury,…
- 【Long-Lasting Cooling for Complete Relief】 Busy professionals, athletes, and seniors suffering from shoulder arthritis o…
- 【Ergonomic Fit for Maximum Comfort】 Whether you’re an active individual, a post-surgery patient, or someone dealing with…

So, here are the exercises.
1) Shoulder Flexion Exercise (Sling-Friendly)

While still supporting your shoulder with the forearm cuff sling, use your opposite hand to provide additional support to your forearm. As you continue with your exercises, you may eventually be able to remove the sling during your workout routine.
To perform this exercise, stand with your feet shoulder-width apart and your knees slightly bent.
- Starting from a shoulder-neutral position, slowly raise your arm to the front until you reach a point where you begin to feel some discomfort or pain.
- Hold this position for a few seconds, then slowly lower your arm.
- Repeat this movement for a minimum of 15 repetitions in a single session.
- Remember to take breaks and listen to your body to avoid overexerting yourself.
2) Shoulder Abduction/Adduction for Mobility

Your starting position would be the same as the above exercise, and then follow these steps. Give at least 10 to 15 repetitions in a single session.
- Start by standing or sitting comfortably with your forearm in a sling.
- Begin by slowly lifting your arm away from your body to the side. This is shoulder abduction.
- Hold your arm in this position for a few seconds.
- Then, slowly bring your arm back towards your body. This is shoulder adduction.
- Repeat this movement for 10 to 15 repetitions in a single session.
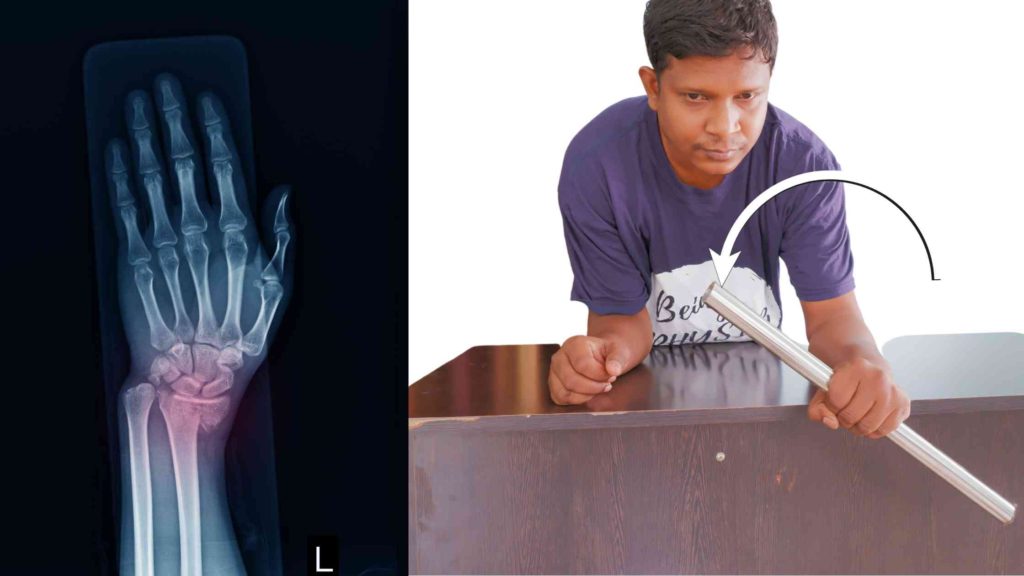
3) Gentle External Rotation (With Sling Support)

- To perform this exercise, start by supporting your affected side forearm at the wrist with your opposite hand.
- Keep your elbow bent at a 90-degree angle and ensure that the position of your upper arm is fixed at the side of your chest.
- Now, gently move your wrist away from your body and then towards it while maintaining the fixed position of your upper arm.
- Repeat this movement at least 10 to 15 times in a single session.
This exercise can help improve the mobility and flexibility of your affected forearm.
Phase 2: Intermediate Shoulder Stabilization Exercises (Weeks 2-6)
This phase begins two weeks after the removal of the forearm sling. The pain usually subsides by this phase, and we should now focus on strengthening exercises and exercises to regain shoulder mobility.
So, in the initial days of phase 2, we should start with static strengthening exercises. However, if the pain is completely gone, then you may jump straight to dynamic strengthening exercises.
Static Strengthening Exercises (No Movement)
It is called static because the shoulder joint has little to no movement. How? Let’s find out in these exercises.
5) Wall Press for Shoulder Flexors

This exercise is specifically designed to strengthen the shoulder flexor group of muscles located on the front of the shoulder. These muscles facilitate shoulder flexion movements.
- To perform this exercise, stand in front of a wall with your elbow bent at a 90-degree angle.
- Next, press your fist against the wall as if you are trying to push it away from you.
- Hold this position for at least 5 seconds before releasing it.
- To experience the best results, this process should be repeated at least 20 times in a single session.
6) Static Shoulder Extensor Hold

You can perform the following exercises to strengthen the shoulder extensor group of muscles at the back of the shoulder.
- Begin by standing with your back facing the wall.
- Place your arm in contact with the wall and try to push the wall with an optimum effort.
- Hold this position for 5 seconds and then release it.
- Repeat this movement for a minimum of 20 repetitions in a single session.
This routine will help you strengthen your shoulder muscles and improve your overall posture.
7) Static shoulder abductor strengthening exercise

To perform the shoulder abduction exercise, follow these steps.
- Stand with your side facing the wall.
- Place the outer side of your arm against the wall.
- Press your arm against the wall with as much strength as possible without moving your body.
- Hold this position for 5 seconds.
- Release the pressure and relax your arms.
- Repeat this exercise for at least 20 repetitions in one session.
This exercise targets the abductor muscles, which are important for shoulder stability and mobility. Regularly performing this exercise can improve your shoulder strength and reduce the risk of injury.
8) Static shoulder adductor strengthening exercise

You will need a Theraband mini-ball or a thick towel roll to perform this exercise. Follow these steps:
- Stand with your feet shoulder-width apart and hold the towel roll or mini-ball with one hand.
- Position the towel roll or mini-ball between your arm and chest, with your elbow bent at a 90-degree angle.
- Press the towel roll or mini-ball against your chest with optimal pressure. You should feel your adductor muscles contracting.
- Hold this position for 5 seconds, keeping your muscles engaged throughout.
- Release the pressure and relax your muscles for a few seconds.
- Repeat this exercise for a minimum of 20 repetitions in a single session.
Mobility Exercises to Restore Range of Motion
Shoulder stiffness is very common after shoulder immobilisation. This is why mobility exercise (range of motion) is very important to regain or maintain shoulder mobility.
The exercises are designed to cover all the motions of a shoulder joint, like shoulder flexion, elevation, internal and external rotation, shoulder abduction, and adduction. These exercises are very simple, and anyone can do it at home.
Let us start this exercise with a cane.
9) Cane-Assisted Shoulder Elevation

If you want to perform the shoulder elevation exercise, use a cane or stick readily available at home. Here is a step-by-step guide to help you perform the exercise safely and effectively:
- Stand up straight with your feet shoulder-width apart.
- Hold the cane with one hand, ensuring the back of your forearm is facing forward.
- Slowly elevate your shoulder while holding the cane until you feel slight stiffness or pain.
- Hold your shoulder in that elevated position for a few seconds, and then slowly lower it down.
- Repeat the process at least 20 to 30 times in a single session.
10) Cane Abduction/Adduction Drills

Here are the step-by-step instructions for performing shoulder abduction and adduction exercises using a cane or stick:
- Begin by standing up straight with your feet shoulder-width apart and your arms at your sides.
- Hold the cane or stick in both hands, palms facing down, and arms extended in front of you.
- Slowly lift the cane or stick up and away from your body, moving your arms to the sides until they parallel the floor.
- Hold this position for a few seconds, then slowly lower the cane or return it to its starting position.
- Next, move the cane or stick in the opposite direction, bringing your arms across your body and toward the other side until they are again parallel to the floor.
- Hold this position for a few seconds, then slowly lower the cane or return it to its starting position.
- Repeat this movement, alternating between lifting the cane or stick up and away from your body and bringing it across your body toward the other side.
- Continue the exercise for a 30 to 40 times in a session.
11) Internal/External Rotation with Stick

To perform this exercise, please follow these steps:
- Stand upright and hold the stick or cane in your hand with your arm facing forward.
- Ensure that your elbow is bent at a 90-degree angle and that the stick or cane is parallel to the ground.
- Begin by moving the stick or cane to the left, as far as you can go, without causing discomfort or pain.
- Hold the stick or cane in this position for a few seconds before moving it back to the starting position.
- Repeat this movement to the right side, holding the stick or cane in place for a few seconds before returning to the starting position.
- Continue this left-to-right movement for at least 20 repetitions in a single session.
- Take a break if you feel discomfort or fatigue, and resume the exercise when ready.
Dynamic Strengthening with Resistance Bands
The shoulder strengthening exercise we just discussed is a static exercise, a dynamic exercise where the movement of the shoulder joint is required to perform the exercise.
Don’t get confused by the terms. They are very simple to perform, and you need a resistance band or a theraband, which you can get online.
So, let’s start with the internal rotator strengthening exercise.
12) Shoulder internal rotators strengthening exercise

To strengthen the internal rotators of your right hand, you can perform the following exercise using a theraband or resistance band:
- Fix one end of the band to a stable object on your right side, such as a doorknob or a sturdy piece of furniture.
- Hold the other end of the band with your right hand and stand facing the object to which the band is attached.
- Keep your elbow flexed at a 90-degree angle and close to your side, with your forearm parallel to the ground.
- Pull the band inward towards your chest by rotating your shoulder and keeping your elbow close to your body.
- Hold for a second or two, then return the band to the starting position.
- Repeat this movement for 20 repetitions in a single session.
The resistance band is made of latex rubber and has varying degrees of resistance strength, so choose a resistance that feels challenging but is doable for your current level of strength.
13) Shoulder external rotator strengthening exercise.

You can use a resistance band to strengthen the right shoulder joint’s external rotators.
- Start by securing one end of the band to a stable object on your left side.
- Then, hold the other end of the band with your right hand, keeping your elbow bent at a 90-degree angle.
- Next, pull the resistance band away from your body while keeping your arm positioned by the side of your body.
- This exercise targets the muscles involved in the external rotation of the shoulder.
14) Shoulder Elevation with Bands

To perform this exercise, follow these steps:
- Begin by standing on the resistance band with one foot and holding the other end of the band with your hand.
- Bring your arm to your side with your elbow straight and keep it there throughout the exercise.
- Fix the other end of the band to the floor or another stable object.
- Slowly elevate your shoulder in a controlled manner, pulling the band towards the ceiling.
- Hold this position for a few seconds before slowly lowering your shoulder back to the starting position.
- Repeat this exercise for 10 to 15 repetitions before switching to the other arm.

- A superior band product for resistance training and rehabilitation, provides both positive and negative force on muscles…
- Simple & easy to use product for upper & lower body exercises that can be performed anywhere, is ideal for conditioning …
- Color-coded Progressive Resistance system allows users to recognize improvement as it happens, as you grow stronger you …
15) Shoulder abductors strengthening exercise

Here is a more descriptive step-by-step guide for the exercise:
- Begin by fixing one end of the resistance band to the floor. You can keep it in position by pressing it with your foot.
- Hold the other end of the band with your hand and stand with your feet shoulder-width apart.
- Make sure your elbow is straight, and pull the band sideways away from your body towards the ceiling.
- While doing this, keep your core engaged and your shoulders relaxed.
- Hold the position for 5 seconds and slowly release the band’s tension.
- Repeat the exercise for 10 to 15 more reps, ensuring you maintain proper form throughout the entire movement.
Also read: Shoulder pain at night: Tips that actually work
Phase 3: Advanced Shoulder Strengthening (6+ Weeks)
This is the phase when almost all the stiffness subsides, and now is the time for the vigorous strengthening of the shoulder muscle. This phase includes some of the most powerful exercises to increase the strength of the shoulder girdle muscles.
17) Wall push-ups for shoulder dislocation recovery

Here is a step-by-step guide for performing the push-up exercise with minimum body weight:
- Stand facing a wall at a distance of about one hand’s length away.
- Place both hands on the wall at shoulder height, with your hands shoulder-width apart.
- Make sure your feet are shoulder-width apart and flat on the ground.
- Engage your core and keep your body straight from your feet to your hands.
- Lower your body towards the wall by bending your elbows, keeping your body straight.
- Pause at the bottom of the movement, then push yourself back up to the starting position using your chest and arm muscles.
- Repeat the movement for 10 to 15 repetitions.
18) Kneeling Push-Ups (Partial Weight-Bearing)

To perform this push-up exercise with partial body weight, follow these steps:
- Begin by getting into a quadruped position on the ground. This means that your hands and knees should be on the floor, with your hands shoulder-width apart and your knees hip-width apart.
- Make sure your wrists are directly under your shoulders and your knees are directly under your hips.
- Engage your core muscles by drawing your belly button towards your spine and keeping your back flat.
- Bend your elbows and lower your upper body towards the ground, keeping your hips and knees in place.
- Pause briefly when your elbows reach a 90-degree angle.
- Push your upper body back up to the starting position by straightening your elbows.
- Repeat the exercise for 10 to 15 number of repetitions.
19) Full Push-Ups for Shoulder Stability

This is the actual push-up exercise; we progress to it when we are confident of it. This is because it uses the whole of your body weight. So, perform push-ups as in the figure and repeat them 10 to 15 times in a single session.
Conclusion: Staying Consistent for Recovery
To work effectively, all the exercises should be done for at least two months. During this period, I suggest you refrain from activity that results in dislocation.
Sometimes, secondary to dislocation, one may develop shoulder stiffness with night pain. This is a typical sign of a frozen shoulder. If so, you may check my articles on frozen shoulder exercises.
Which exercise helped you most? Comment below!
FAQ on shoulder dislocation
The author is a physiotherapist who has been practising for the last 17 years. He holds a Bachelor's in Physiotherapy (BPT) from SVNIRTAR (Swami Vivekananda National Institute of Rehabilitation and Research), one of the prestigious physiotherapy schools in India.
Whatever he learns dealing with his patient, he shares it with the world through blogs and e-books. He also owns a YouTube channel, "Sunit Physiotherapist" with over 8 lakh active subscribers. Here, he shares everything he gets to learn serving the patient.

I am interested to know whether you are familiar with any peer reviewed published research that has examined the efficacy to exercise in preventing recurrent shoulder dislocation.
If so, please send me the details so that I can examine the evidence and compare it with the results of surgical stabilisation procedures.
With thanks,
Dr. M. Waldman
Rambam Hospital,
Haifa, Israel