Last updated on January 9th, 2024 at 01:24 pm
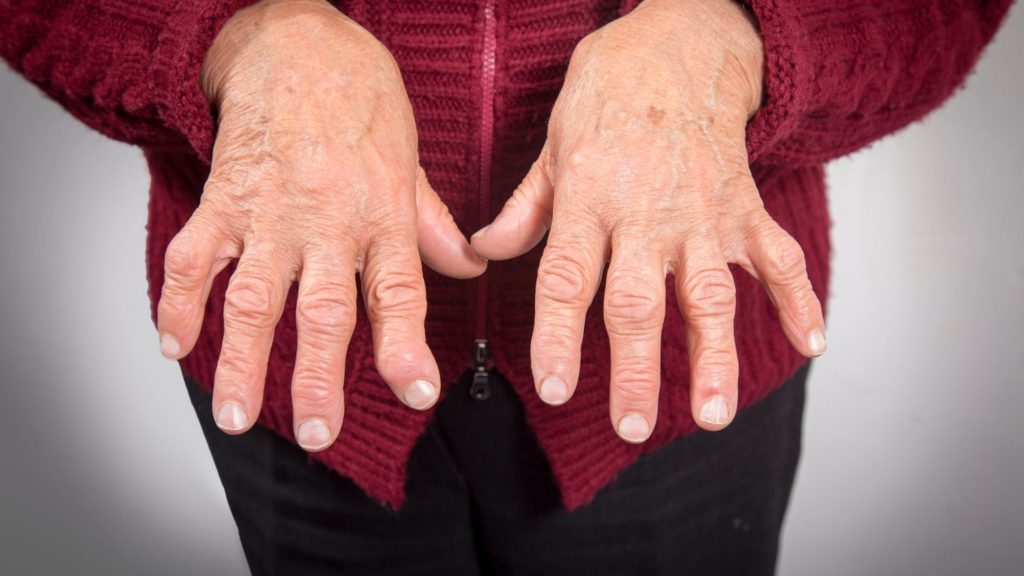
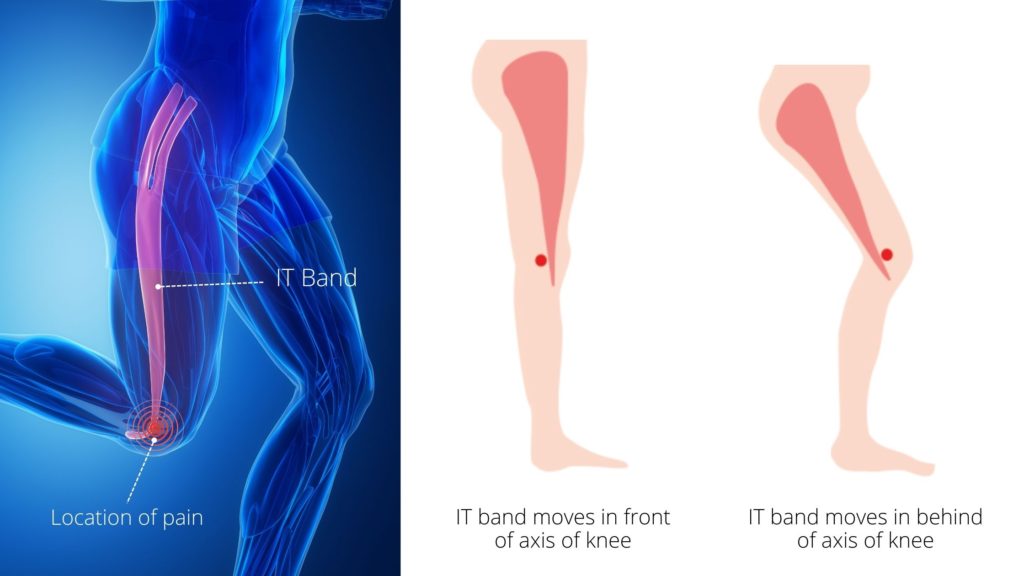
Knee pain can be a common issue for many. One of the common reasons for knee pain is arthritis, though there could be other uncommon reasons, such as knee bursitis, patellar tendinitis or knee ligament injury. Exercise is very important to cure almost all chronic knee pain. Research1 also supports the idea that incorporating TENS can increase the positive impact of exercises in curing knee pain.
This article will explore using a TENS (Transcutaneous Electrical Nerve Stimulation) unit specifically for knee pain. First, we will start with the electrode placement for knee pain. Next, we’ll unbox and set up the HealthMateForever PRO24AB portable TENS unit for knee pain. Let’s start with how to use a tens unit for knee pain.
Using a TENS Unit for Knee Pain
Now, let’s get into the practical steps of using a TENS unit for knee pain relief:
- Step 1: Prepare the TENS Unit: The first step includes essential preparation of the TENS unit. Ensure your TENS unit is in good working condition, and place fresh batteries if it’s a battery-operated device. Usually, the electrodes are reusable, so clean the electrodes or pads before using them.
- Step 2: Locate the Painful Area: Identify the specific location of your knee pain. This will help you place the electrodes accurately for targeted relief.
- Step 3: Apply Electrodes: The body skin where the electrodes will be placed should be clean and dry. Use cotton to clean and dry the skin. You need to use only one channel based on the body area to be covered or two channels with four electrodes. We will discuss the electrode placement in detail later in this article.
- Step 5: Set the Parameters: Adjust the TENS unit settings; we will learn more about the settings below when we unbox one TENS unit from HealthmateForever. The basic rule is to start with low intensity and gradually increase it until you feel a comfortable yet noticeable sensation. You should feel a tingling or pulsing sensation rather than pain.
- Step 6: Begin Therapy: Turn on the TENS unit and let the therapy session run for the prescribed duration, usually 20-30 minutes. Ensure you remain still and relaxed during the treatment.
- Step 7: Monitor Your Comfort: Pay attention to your comfort level throughout the session. If you experience discomfort or skin irritation, stop the therapy and consult your healthcare provider.
TENS electrode placement for knee pain
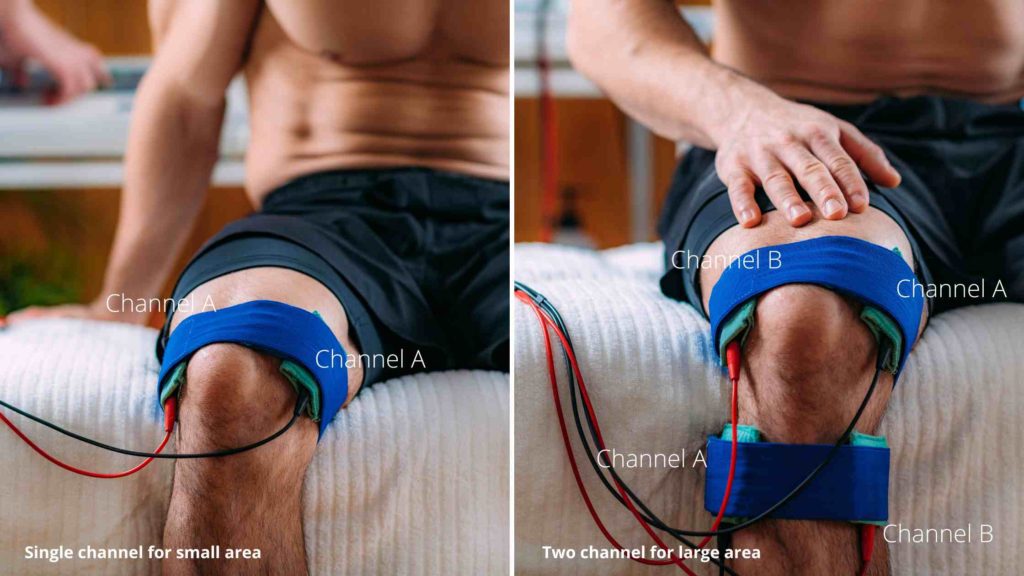
Electrode placement depends upon the size of the area where TENS is to be applied. For smaller areas, a single channel with two electrodes is preferred; for a more extensive area, two channels with four electrodes is preferred. The basic principle is to place the electrodes on either side of the pain area.
Let’s begin with the placement of single-channel electrodes. Single channel electrodes consist of two electrodes. Suppose the pain is located around the patella. To place them correctly, position one electrode on the inner side of the knee next to the patella and the other on the outer side next to the patella. This will ensure optimal placement for effective pain management.
If you have pain in the entire knee joint, using two-channel electrodes to cover the larger area is recommended. Two channels consist of a total of four electrodes. To place them correctly, position the two electrodes of one channel on the inner and outer sides of the knee, with one electrode at the upper end of the pain area and the other at the lower end.
Then, take the other channel and place one electrode on the inner side of the knee at the lower end and another electrode on the outer side of the knee at the upper end of the pain area. This will ensure that the two channels cross each other, covering the entire painful knee. Remember not to place the electrodes directly on open wounds, broken skin, or irritated areas.
Unboxing the HealthMateForever PRO24AB TENS Unit
The HealthMateForever PRO24AB TENS unit is a user-friendly device tailored to relieve musculoskeletal and joint pain. As you open the box, you will first find the main unit with the user manual. The main unit is elegantly designed so that you can comfortably hold it in your hand while using it.
Each package contains two self-adhesive rubber pads, totalling four electrodes. These pads, equipped with adhesive backing, easily adhere to your skin. It also has a pad holder to keep self-adhesive pads. It also has wires to connect the main unit with pads.
An impressive feature of the TENS unit is its rechargeable capability. The charging unit ensures your device is consistently powered and ready to provide relief whenever needed.
Setting Up the HealthMateForever PRO24AB TENS Unit
Now that we’ve unveiled the contents, it’s time to set up the device precisely, ensuring that every step is seamlessly executed.
The main unit has a slot for channels A and B, offering versatility. You can simultaneously utilize a single channel or both, customizing your pain relief experience. At the upper end of the main unit, you’ll find a USB connection port, which is meant for charging the unit. Adjacent to it is the power switch to switch the unit on and off.
This device has 24 distinct modes, each offering a unique sensation. For knee pain, our recommendation is mode 19. To access it, press the ‘M’ button on the upper end of the circle, scrolling through modes until you reach 19.
Using the HealthMateForever PRO24AB for Knee Pain
We have already covered the basic procedure of using TENS for knee pain. First, connect the electrodes to the main unit using wires. You can use channel A for a smaller area or channels A and B for an extended area. Let us assume that you have placed the electrode; now it’s time to do settings in the main unit.
Switch on the TENS unit and select your preferred mode on the screen. Once you have selected the mode, gradually increase the intensity to a point where you feel a comfortable, tingling sensation. The key is to strike the perfect balance, avoiding excessive strength and insufficient effectiveness.
Configuring the timer for your session is essential. A typical duration is ten minutes, but it’s flexible to suit your preferences. Once your session is complete, gracefully switch off the machine using the button at the top, ensuring a controlled conclusion to your pain relief. Carefully remove the electrodes from your skin, and utilize the pad holder to store them securely.
What is TENS
TENS is a non-invasive, drug-free method of pain relief that uses low-voltage electrical currents to stimulate the nerves in the affected area. This stimulation helps to block pain signals from reaching the brain, effectively reducing discomfort and promoting natural pain relief.
Benefits of TENS for Knee Pain
- Pain Relief: TENS therapy is known for providing quick and effective pain relief, making it an excellent choice for managing knee pain.
- Non-Invasive: Unlike some other treatments, TENS therapy is entirely non-invasive. It doesn’t require surgery or medication, making it a safe option for many individuals.
- Customizable: TENS units come with adjustable settings, allowing you to tailor the therapy to your needs. This customization can help you target knee pain accurately.
Final Take
TENS can significantly help reduce knee pain and improve the quality of life. It can be applied for other musculoskeletal pain such as frozen shoulders, cervical spondylitis, low back pain, etc. However, the effect of TENS also depends on the quality of the TENS unit, and we highly recommend using good quality TENS units from a good brand.
In addition, as I mentioned at the beginning of the article, you should not ignore knee pain exercises.
Keep Reading: Why This Knee Cap for Knee Pain
The author is a physiotherapist who has been practising for the last 17 years. He holds a Bachelor's in Physiotherapy (BPT) from SVNIRTAR (Swami Vivekananda National Institute of Rehabilitation and Research), one of the prestigious physiotherapy schools in India.
Whatever he learns dealing with his patient, he shares it with the world through blogs and e-books. He also owns a YouTube channel, "Sunit Physiotherapist" with over 8 lakh active subscribers. Here, he shares everything he gets to learn serving the patient.
