Last Updated on January 23, 2026 by Sunit. S. Ekka
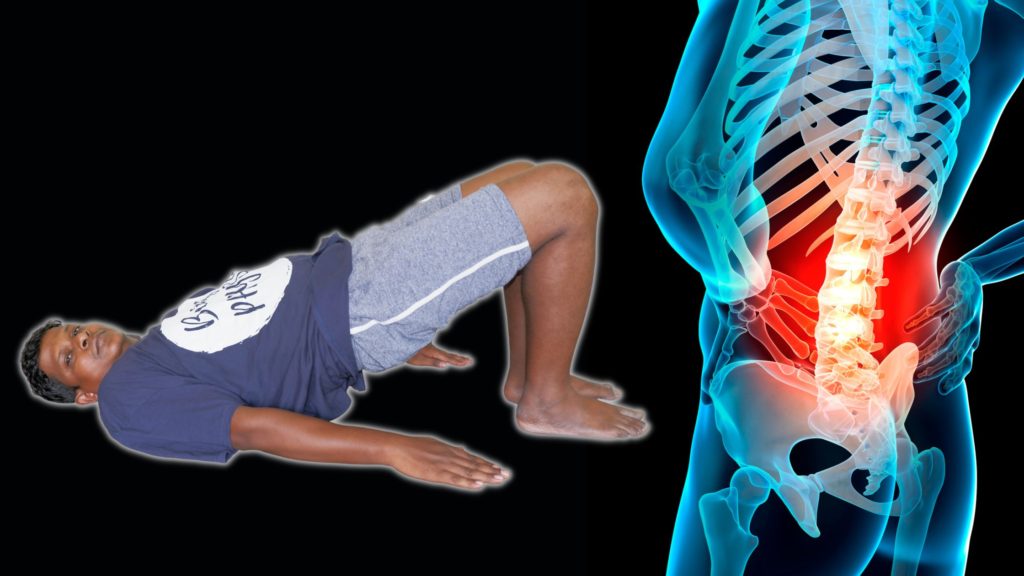
When low back pain becomes chronic and old, the muscles around the lumbar, hip and thigh regions become stiff. We need to stretch these muscles to fully recover from pain.
In this article, we will cover 8 easy lower back pain stretches for quick pain relief. These stretching exercises work very well and give you instant relief from lower back pain.
- 8 Best Lower Back Pain Stretches for Quick Relief (Step-by-Step Guide)
- 1. Double Knee Rotation Stretch – Relieve Tight Hip Abductors
- 2. Single Knee Rotation Stretch – Loosen Stiff Hip Muscles
- 3. Knee-to-Chest Stretch – Instant Relief for Tight Hip Extensors
- 4. Lying Piriformis Stretch – Ease Sciatica & Lower Back Tension
- 5. Hamstring Stretch with Towel – Reduce Sciatic Nerve Pain
- 6. Hip Flexor Stretch – Relieve Tight Thighs & Lower Back
- 7. Seated Piriformis Stretch – Office-Friendly Lower Back Relief
- Final Tips for Long-Term Lower Back Pain Relief
- FAQ
8 Best Lower Back Pain Stretches for Quick Relief (Step-by-Step Guide)
The stretching exercises aim to release or relax stiff or tight muscles. Muscle stiffness around the lower back and hip is the main cause of chronic lower back pain, and stretching exercises are the best way to manage such stiffness.
As a general rule, you should follow two sets of each stretching exercise described here. In one set, repeat it for 10 to 15 stretching exercises. Twice daily is recommended.
You can follow the exercises in any order. To learn them more perfectly, watch the video above.
1. Double Knee Rotation Stretch – Relieve Tight Hip Abductors

The Double Knee Rotation exercise is the first on the list of low back stretches for back pain. This exercise aims to stretch the muscles on the outer side of the thigh, known as the hip abductors. To perform this exercise:
- Lie down on your back and bend both knees.
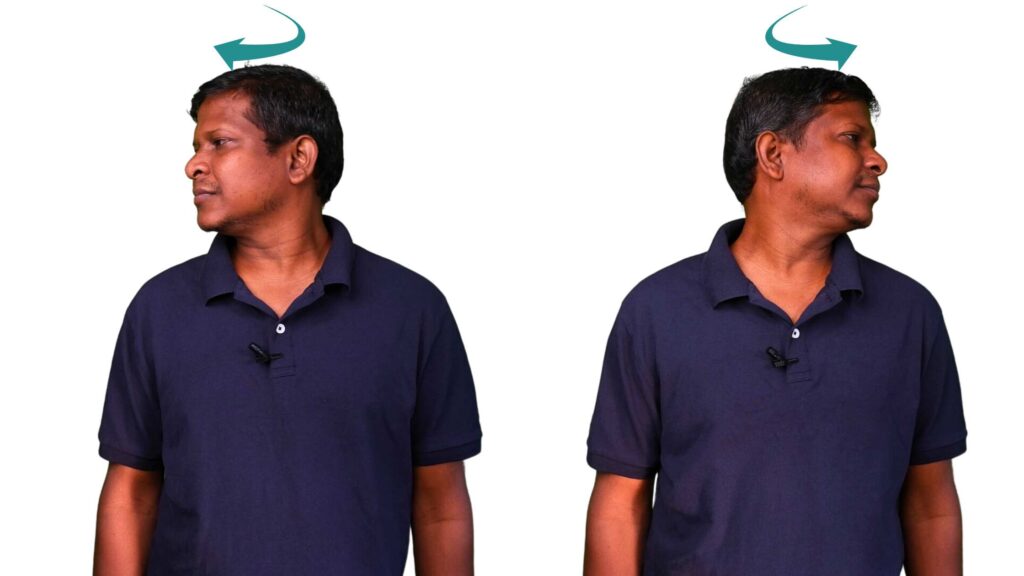
- Then, rotate your knees to one side; for example, I’m rotating them to the left. As you rotate your knees to the left, turn your head to the right, as shown in the figure.
- Return to the starting position and rotate your knees to the right while turning your head to the left.
- Repeat this process at least 10 to 15 times.
- This exercise targets the muscles on the outer side of the hip, which are called hip abductors. When you rotate your knees to the left, the hip abductors on the right side are stretched, and vice versa.
- Repeat this movement 10 to 15 times.
2. Single Knee Rotation Stretch – Loosen Stiff Hip Muscles
The next exercise is Single-Knee Rotation. The process is similar, but the slight difference is that you bend only one knee.
- First, sit on the floor with your legs stretched out in front of you.
- Bend your right knee and place your right foot outside your left knee. Keep your left leg extended on the floor.
- Next, while keeping your right foot on the outside of your left knee, rotate your upper body to the right.
- At the same time, rotate your head to the right, feeling a gentle stretch in your torso and neck.
- Return to the starting position and repeat the same process for the left leg.
- Bend your left knee and place your left foot on the outside of your right knee, keeping your right leg extended on the floor.
- Rotate your upper body to the left while keeping your left foot in place, and rotate your head to the left. This exercise helps to stretch your hip abductors.
- Aim to repeat this sequence at least 10 to 15 times on each side for a beneficial stretch.
3. Knee-to-Chest Stretch – Instant Relief for Tight Hip Extensors

The next lower back pain stretching exercise is the Knee to Chest exercise.
- Stand straight with your feet shoulder-width apart.
- Begin by lifting your left leg off the ground, keeping your knee slightly bent.
- Use both hands to grasp behind your left thigh, just below the knee.
- Slowly pull your left knee up towards your chest while keeping your back straight.
- Hold this position for at least 30 seconds, feeling a gentle stretch in your hip extensors.
- Keep your right leg straight and grounded during this motion.
- After holding for 30 seconds, slowly release and lower your left leg back to the starting position.
- Repeat the same process for the right leg, lifting it and bringing it towards your chest using both hands.
- Hold for at least 30 seconds, feeling the stretch in your hip extensors.
- Lower your right leg back to the starting position.
- Repeat this process at least 10 times for each leg, alternating between left and right.
4. Lying Piriformis Stretch – Ease Sciatica & Lower Back Tension
Now, let’s talk about Piriformis Stretching. For this exercise:
- Lie down straight on your back and bend the left or right knee to stretch the restive side piriformis muscle. Piriformis muscle is present on the outer side of our hip. Its stiffness is often the main reason for lower back pain, so it is very important to stretch it.
- Let’s say I want to stretch my piriformis muscle on the right side. To do so, I’ll put my right leg on my left thigh, as shown in the figure. Keep it just near the heel.
- Then, I will hold my left thigh with my hands this way and pull it towards my chest. You will feel a nice stretch on the outer side of the left buttocks.
- Hold this position for at least 10 seconds, then release and relax.
- Do this 2-3 times in a session. Similarly to stretching the piriformis muscle on the left side, put your left leg on the right leg this way and hold the right thigh with your hands and pull towards the chest this way.
- Hold for 10 seconds and repeat at least 2-3 times.
5. Hamstring Stretch with Towel – Reduce Sciatic Nerve Pain

The hamstring stretching exercise is the next exercise on the list of low-back stretches for back pain. To do this exercise, you will need a towel or a bedsheet. This exercise is very useful for those who have sciatica pain as it stretches the sciatic nerve. Here’s how to do it:
- Hold the two ends of the towel and place the middle portion on the ball of your right leg’s toes.
- Keep your leg completely straight and pull it up as high as possible without bending your knee. You should feel a nice stretch from your hip to your heel.
- Hold this position for at least 30 seconds, then relax. If you have pain on both sides, you can repeat the exercise.
- Only do this exercise 2-3 times and hold the stretch for 30 seconds.

- 5 Level Resistance(3-20pounds): You will get a set of resistance bands including five colors, different colors represent…
- Resistance Levels: Gym resistance bands come in 5 different resistance levels: Yellow Band (X-Light, 0.25mm), Red Band (…
- High-Quality Material: Stretch bands is 59 inches(4.9FT) long and 6 inches wide, made of high-quality TPE material, late…
6. Hip Flexor Stretch – Relieve Tight Thighs & Lower Back
The following exercise is the Hip Flexor Stretching exercise. The muscles on the front side of our thighs are called hip flexors.
- First, start by kneeling. If you want to stretch the hip flexor muscles on the right side, keep the right leg in the same position and extend the left leg forward.
- Then, lean forward, as shown in the graphics. You should feel a good stretch on the front of the hip. Bend the right knee further until you feel a comfortable stretch in the front of your thighs.
- Hold this position for at least 30 seconds, and then relax.
- Repeat the same process to stretch the hip flexor muscles on the left side.
- Hold this position for at least 30 seconds, and then relax.
- Repeat this process at least 2-3 times in a session.
7. Seated Piriformis Stretch – Office-Friendly Lower Back Relief

The last exercise in this article focuses on stretching the lower back and involves the piriformis stretching exercise in a sitting position. Unlike the previous one, which was done lying down, this exercise can be done while sitting.
- To stretch the right-sided piriformis muscle, start by crossing your right leg over your left leg and then bending forward, as shown in the figure.
- Maintain a straight spine while bending forward in the lower back area.
- Hold this position for at least 30 seconds, and then relax.
- Similarly, to stretch the left side, cross your left leg over your right leg, keep your spine straight, and bend forward.
- Hold this position for 30 seconds.
- Repeat this stretching exercise 2-3 times in a session.
Final Tips for Long-Term Lower Back Pain Relief
If you have severe lower back pain with spasms, we recommend the following tips to reduce them. Once you feel that the pain is bearable, you can proceed with these exercises.
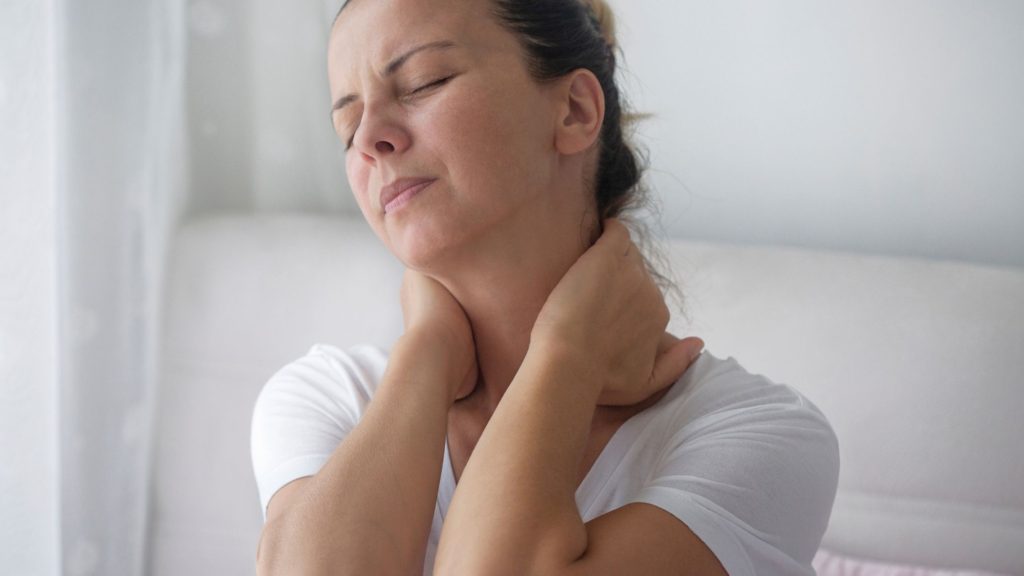
Hope you have learnt all these stretching exercises properly. If you follow these exercises regularly, you will feel an almost immediate pain relief. Along with low back pain, you often may feel whole-body stiffness.
You can follow the exercises in this article “Quickly Fix Achy Muscle Of Back, Leg, Calf| Follow These 7 Easy Stretching” to stretch your whole body.
Keep Reading: 12 Easy Chair Exercises for Seniors for Healthy Life
FAQ
The author is a physiotherapist who has been practising for the last 17 years. He holds a Bachelor's in Physiotherapy (BPT) from SVNIRTAR (Swami Vivekananda National Institute of Rehabilitation and Research), one of the prestigious physiotherapy schools in India.
Whatever he learns dealing with his patient, he shares it with the world through blogs and e-books. He also owns a YouTube channel, "Sunit Physiotherapist" with over 8 lakh active subscribers. Here, he shares everything he gets to learn serving the patient.


This blog is a good read and the most fascinating thing is the way the topic is explained. I am going to recommend it to my peers and family. I have read relevant blogs and topics on other websites, take a look at https://www.manipalhospitals.com/oldairportroad/blog/lower-back-pain-causes-risk-factors-and-treatment/ to know more about the treatments.